A microphone check ensures that your respondent's microphone is enabled and recording audio appropriately.
What is a Microphone Check?
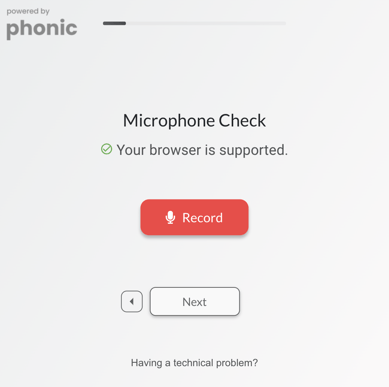
The purpose of the microphone check is to verify that respondents are using a compatible web browser, and that their microphone is working as expected. The microphone check is added at the beginning of your survey before your first question. Respondents will first be notified about their web browser compatibility, and then they will be asked to record an audio sample.

Respondents can have 3 possible audio outcomes when completing a microphone check.
- Successful Microphone Check. A successful microphone check will have a waveform displayed under the Record button.
- Microphone Enabled, But Not Recording. If the respondent has a flat line under the Record button, then their microphone was enabled, but no audio was recorded.
- Microphone Not Enabled. When a respondent's microphone is not enabled, nothing will appear under the Record button.
Some devices are configured so that the microphone can record audio but cannot play it back. As long as the waveform displayed appears contains an audio buffer, the recording is successful.
How Do I Add a Microphone Check to My Survey?
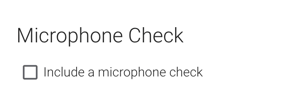
In the survey builder, click on the "Settings" tab. In survey settings, check off "Include a microphone check" under Microphone Check.

